Home Credito loan finance management multipurpose system in PHP

Home Credito is a service-based system written in PHP. This project is developed on PHP PDO with OOPS concept and Prepared statements. You can install it without any coding skills. You can use it for loan management, Finance system, products,price tables plans, services, and any business packages. The Home credito is based on the Home Credit website. If you are looking website like Home credit then it will be very helpful for you. This is a complete secured, responsive, and lightweight loan management system. We have designed many features and modules in this web application. If you are in the finance department and looking for a finance system or loans management system then it will be helpful for you. This is a multipurpose management system. Home credito offers you to sell different products in packages online.
Let’s discuss features –
Features of Home Credito loans finance management system in PHP PDO OPPS –
We developed many features in this loan management system (Finance Management System, Packages management system).
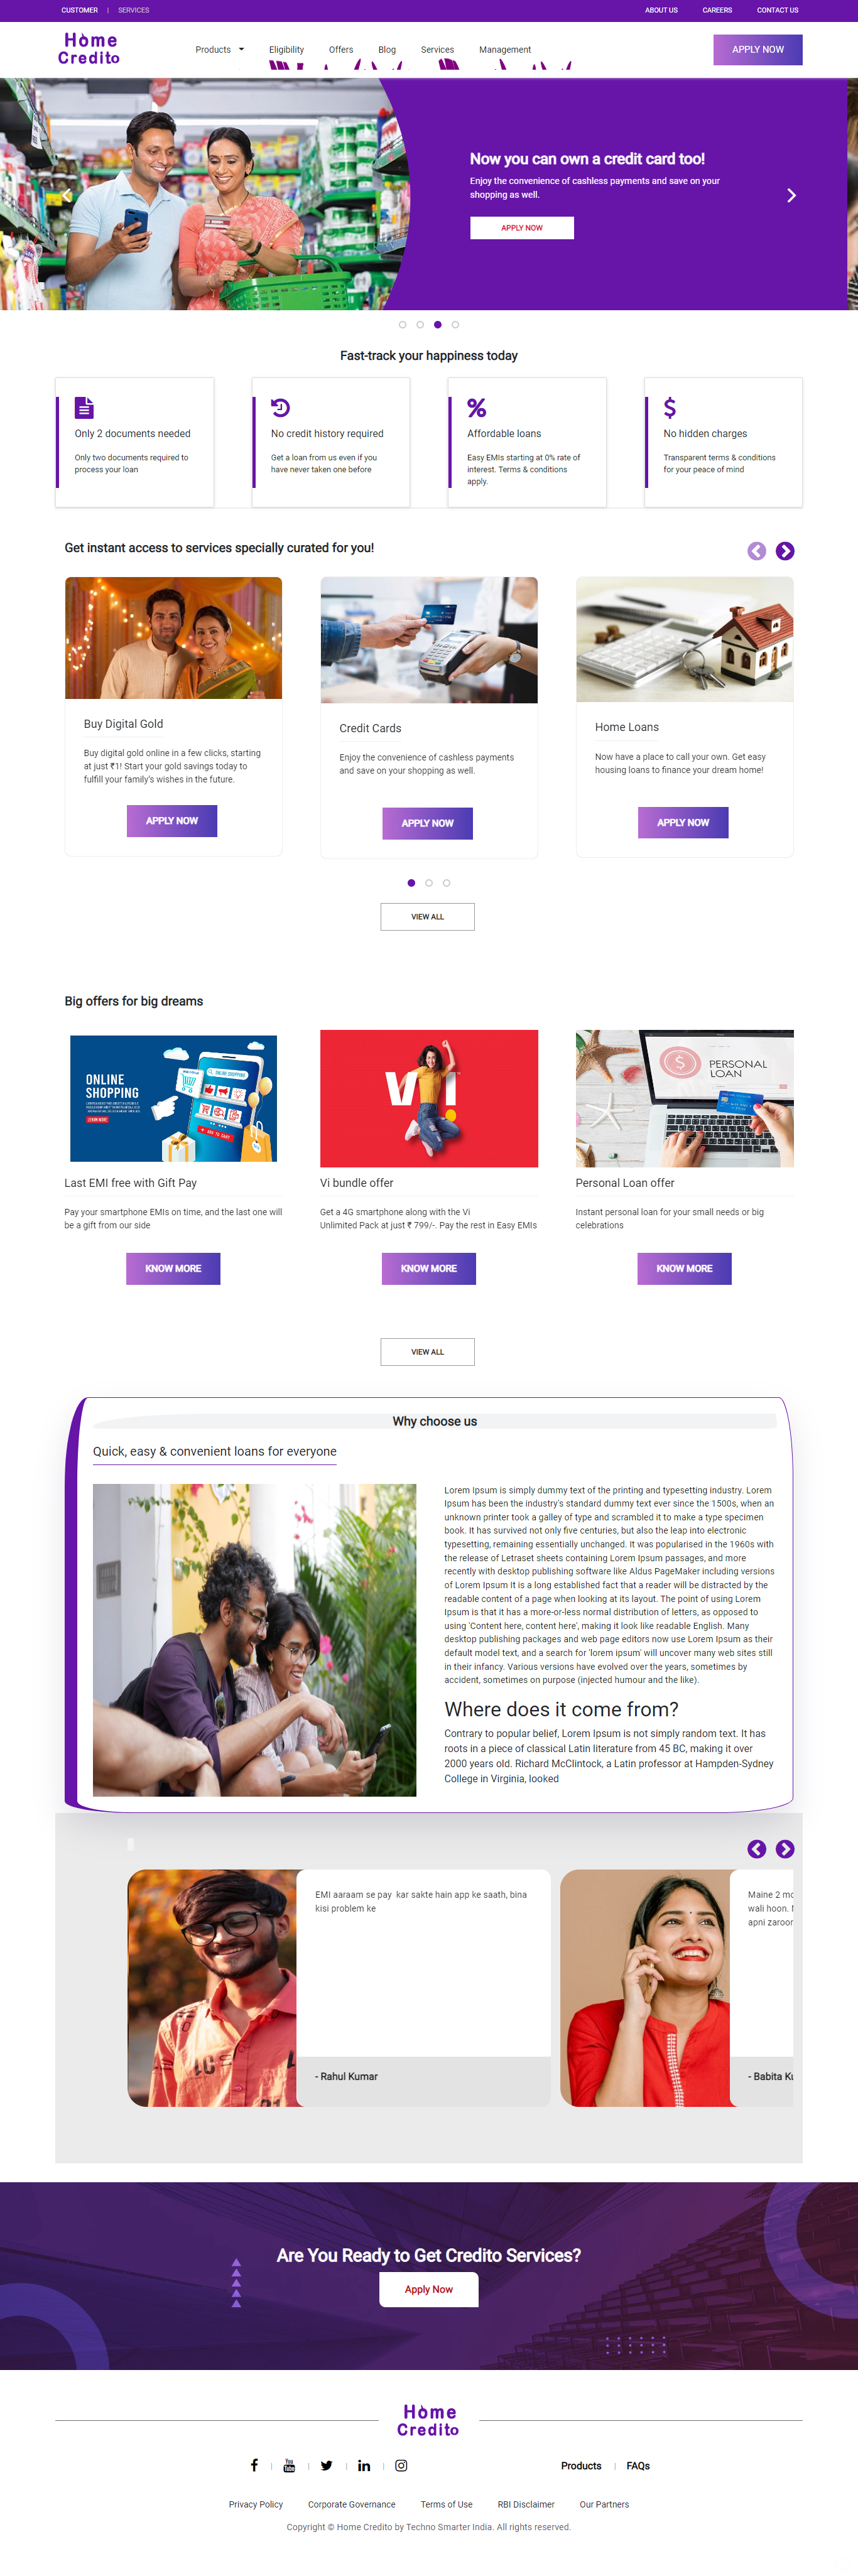
1.Menus – We designed and developed the top menu, main menu (Primary Menu ), and footer menu. You can edit, delete and add from the admin panel. You will get an Admin panel with this system.
2.Slider – You can set your banners(Slides) from the admin panel with title, button text, and link.
 3.Testimonials - You will get a testimonial to feature with it. You can edit testimonials from the admin panel.
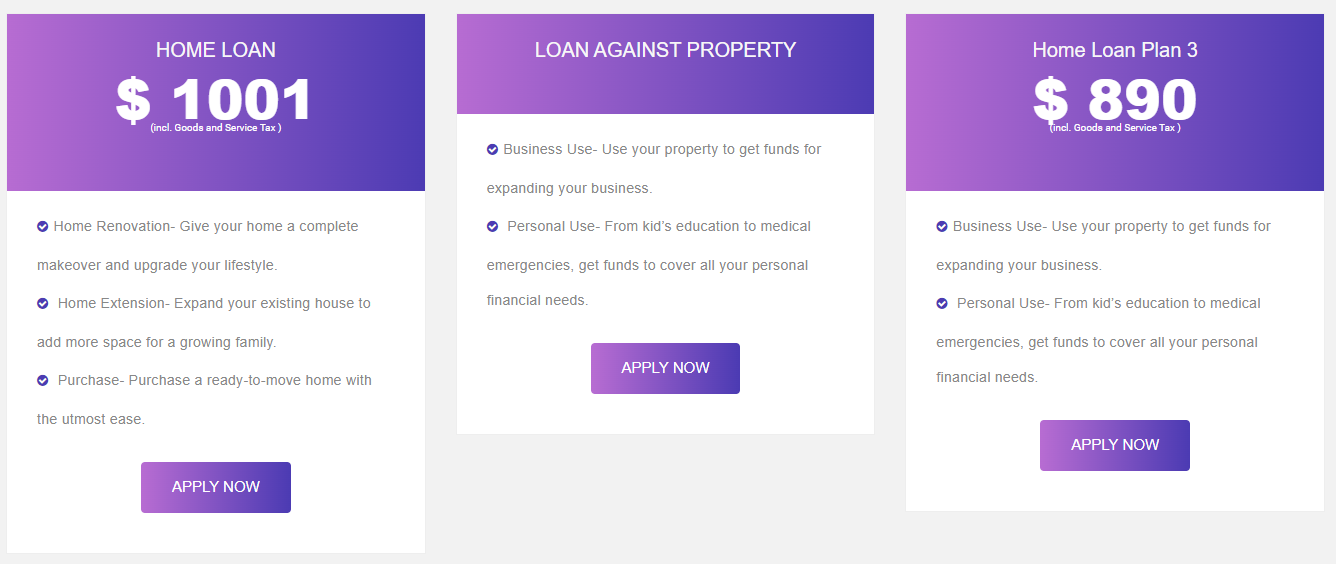
4.Products- Product feature is one of the major features of this management system. You can create any product related to your business with details and price tables and with frequently asked questions.
5.Price Tables – Price tables will be used to display your plan with or without price. You can set your plans from the admin panel and edit or delete them anytime or also make them public or private.
 6.FAQ – Full form of FAQ is a frequently asked question. You can write FAQs inside product details.
7.Apply Now form – The apply now form is developed with PHP PDO and AJAX. It will help you to get details from the user on your website. You can check users' details in applications on the admin panel.
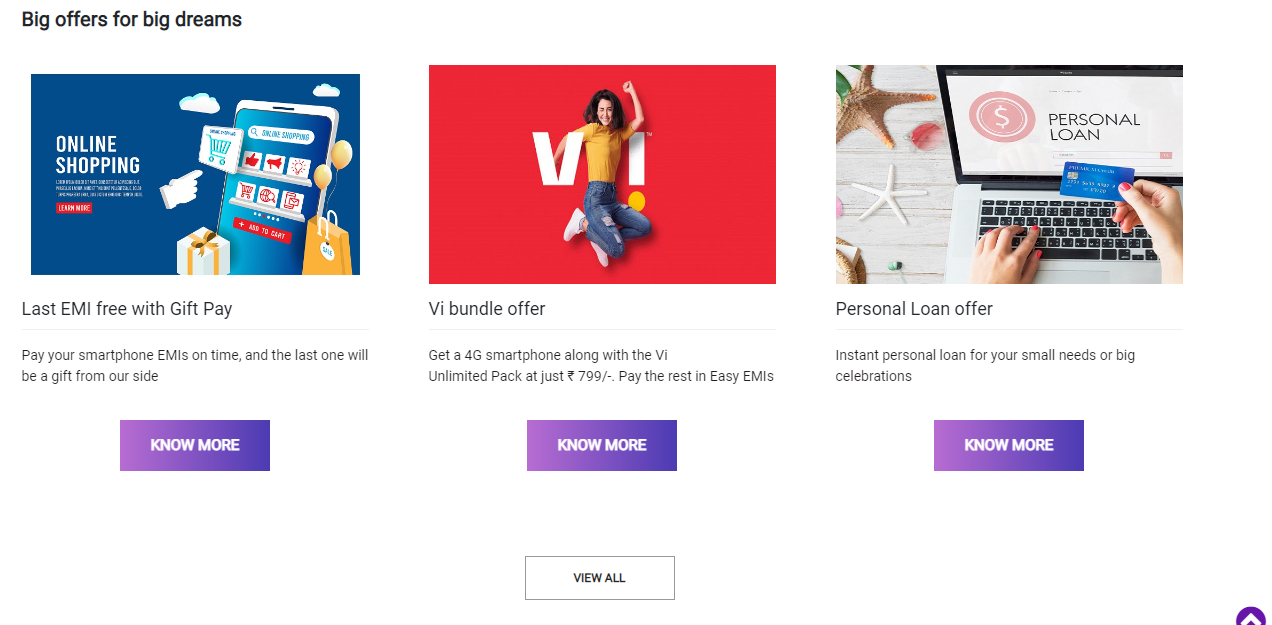
 8.Blog Posts- We have developed a blog system with this web application. You can publicize any post related to your business offers or news.
 9.Products Page – You can see all created products on the products page.
 10.Posts Page – All blog posts will display on the posts page.
11.Contact Us page – Visitors can contact by a contact form. You can set your email from the admin panel.
 12.Admin Panel – We have designed an Admin panel to control the complete system.
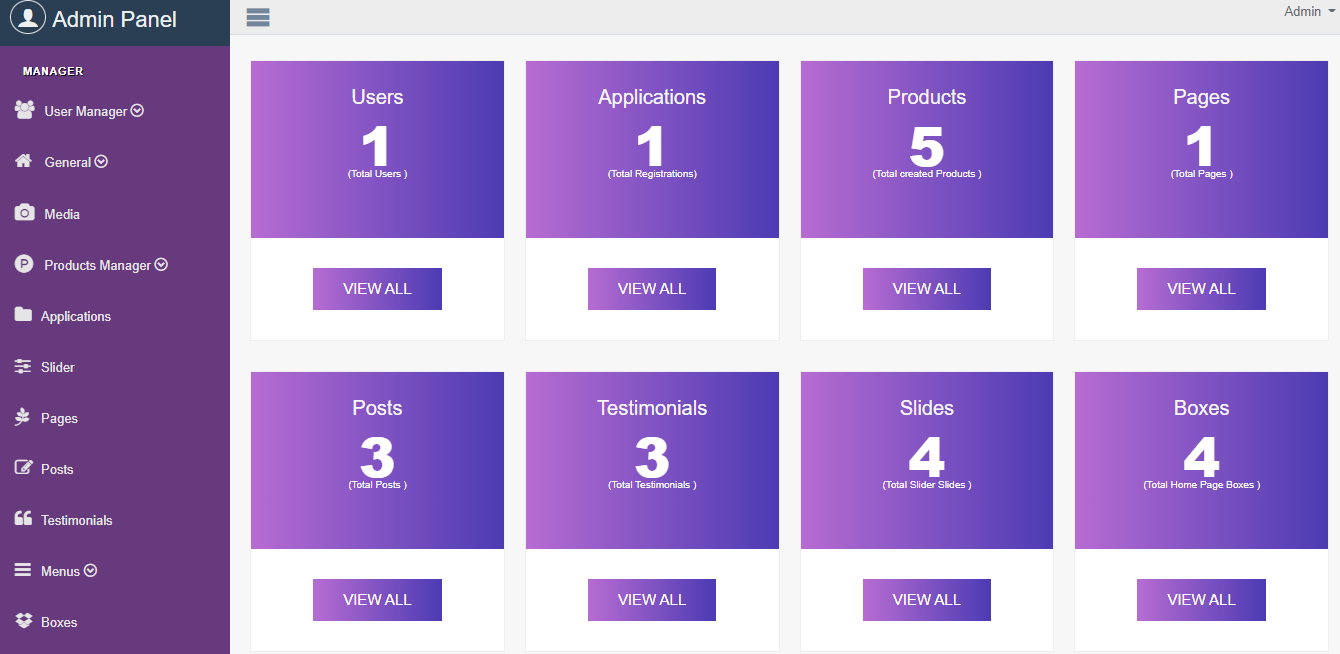 13.User Manager - You can manage admin users from the user manager on the admin panel. Add new admin, delete admin, or edit admin password.
14.General Settings – The general setting is more important. You can set Website Title(Home Page Title), Website URL, Path, website logo, website favicon, Website Email, Contact Email, Home Page Meta Description (Index page, Home page ), Home Page meta tags, and currency symbol.
15.Option – In the option, you can set social links like – Facebook link, Twitter link and other titles.
16.Media – You can upload images, pdf , doc, zip in the media and link inside the post, products details, etc .
17.Product manager – In product manager, you can create your business product or any loan product with price tables and FAQ.
18.Boxes – Boxes represent card. You can set icons, title, and content . These boxes will display on the home page .
19. Admin - Admin login , forgot password , change password .
20.Installer – We developed it with the installer. You can easily install it on your localhost server or live server with a form only. If you are running any website and want to install with the existing website then it’s possible to upload in any folder and install with the existing site.
How to install Home Credito | Loan management | Packages management | Multipurpose system on server ?
This is very easy to install on localhost and live server.
1. Upload a zip file and extract it into the path or folder where you want to run the system.
2. Open URL on your browser like –
For localhost – localhost/project_name/install
For live server
example.com/install
3. You will see an installation form. Enter your host, username, database name, and password.
4. After that process if all details are correct then you will need to wait just 5 seconds.
5. After that, you will see create user form. This user will be an admin. Enter the first name, email, and password and confirm the password then click on submit. That’s it.
6. You have successfully installed your system. Go to the general setting and set your path URL with a forward slash /.
 The loan management system or you can say finance system is developed on PHP PDO + Oops + Prepared + Filters. This is a completely secured and responsive system .

